LEMP 스택으로 Nextcloud 21 설치하기.

안녕하세요. 달소입니다.
오랜만에 Nextcloud 설치글입니다.
제가 최초로 NAS를 접했을때가,, nextcloud 였는데.. 여러모로 신기한 장난감이였죠 ㅎㅎ
지금은 완전히 헤놀로지로 갈아탔지만 클라우드에서 파일서버를 운영하고싶으신분들에게는 nextcloud만한게없다고 생각됩니다.
이번 21버전에서 php 8.0도 공식지원 및 속도가 빨라졌다고하니 NAS 입문하고싶으신분들은 한번 설치해보시는걸 추천드립니다.
nextcloud를 구축하기위해서는 LEMP 스택이 필요한데
차례대로
Linux - Ubuntu
E - Nginx
M - MariaDB(MySQL)
P - PHP-FPM
이라고 보시면됩니다!.
진행환경
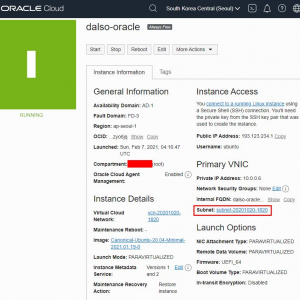
Oracle Cloud 무료 티어
1 vCPU
1G RAM
50G HDD
환경구축하기
1. Ubuntu 설치하기
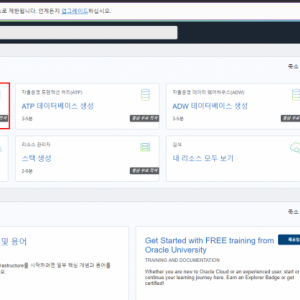
저는 오라클클라우드를 이용하여 VM인스턴스를 생성했습니다.
 달소 | 2021.02.04
2. Nginx 설치하기
nginx 는 ubuntu 설치 후 간단하게 apt update && apt upgrade 후
apt install nginx로 설치해주시면 됩니다.
nginx 설치후에는 방화벽 확인을 통해 꼭 테스트페이지 출력을 확인해주셔야합니다.
 달소 | 2021.02.07
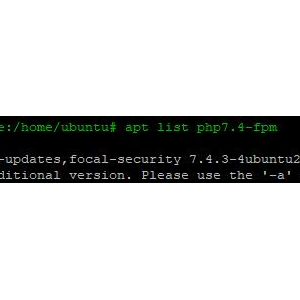
3. PHP-FPM 설치하기(php 8.0)
이제 Nextcloud의 엔진역할을 하는 PHP 입니다.
안정적인 버전은 7.4버전이나 최신버전으로 보다 빠른속도를 경험하고싶으시다면 8.0버전으로 설치해주세요.
 달소 | 2021.03.19
4. MariaDB(MySQL) 설치하기
Nextcloud의 DB로 사용되는 MariaDB입니다.
요것도 간단하게 apt install mariadb-server 로 설치가능 하나 최신버전 설치는 아래 링크를 통해 설치해주세요.
 달소 | 2021.03.19
Nextcloud 설치 전 셋팅하기.
1. Nextcloud 소스 받기.
사용할 Nextcloud의 소스를 받아주겠습니다.
서버에서 아래 명령어로 파일을 다운로드받아주세요.
wget https://download.nextcloud.com/server/releases/nextcloud-21.0.0.tar.bz2

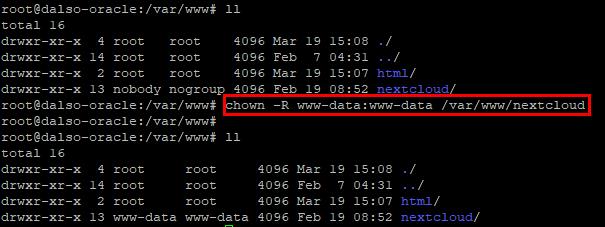
다운로드가 완료되었으면 아래 명령어를 통해 웹 루트에 압축을 풀어주겠습니다.
tar -xjvf nextcloud-21.0.0.tar.bz2 -C /var/www
압축이 모두 풀렸으면 웹으로 실행될 수 있도록 권한설정을 진행해주겠습니다.
chown -R www-data:www-data /var/www/nextcloud
2. Nextcloud DB생성하기
이제 설치하기전에 마지막으로 Nextcloud 전용 db를 만들어주도록 하겠습니다.
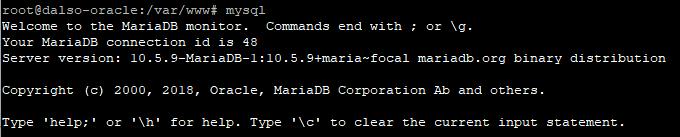
터미널로 접속 후 service mariadb start로 실행후
mysql 명령어로 DB에 접속합니다.
nextcloud db 생성 및 유저생성
여기서 mysql 문법까지 설명하면.. 글이 너무 길어지기 때문에 명령어 입력으로 설명을 대체하겠습니다.
복붙하면 오류가 날수있으니 여긴 타이핑을 추천합니다.
create database nextcloud;

create user 'dalso'@'%' identified by 'password';

grant all privileges on nextcloud.* to dalso@'%';

flush privileges;

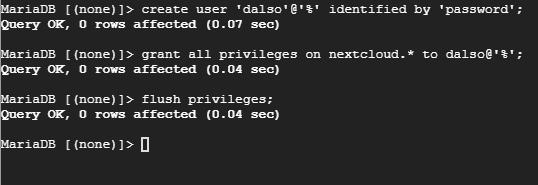
이제 DB셋팅까지 완료되었습니다.
3. DDNS 등록하기
 달소 | 2021.03.31
4. SSL 적용하기
 달소 | 2021.03.20
이제 웹을 통해서 부여한 도메인으로 접근해보겠습니다.
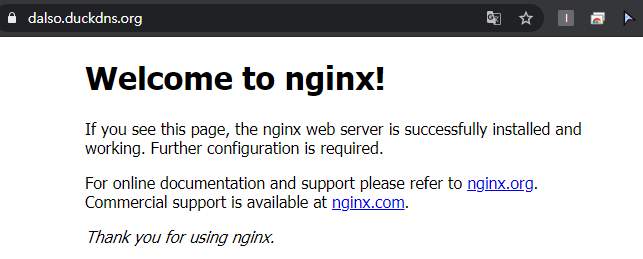
위처럼 화면이 나온다면 본격적인 설치를 진행해보겠습니다.
Nextcloud 설치하기
설치는 오늘날짜 기준 최신버전인 21.0.0 버전입니다.
https://download.nextcloud.com/server/releases/nextcloud-21.0.0.tar.bz2


wget 명령어로 아래처럼 받아주세요.
wget https://download.nextcloud.com/server/releases/nextcloud-21.0.0.tar.bz2

이제 다운로드받은 압축을 풀고 nginx webroot 폴더로 이동해주겠습니다.
tar -xjvf nextcloud-21.0.0.tar.bz2 -C /var/www
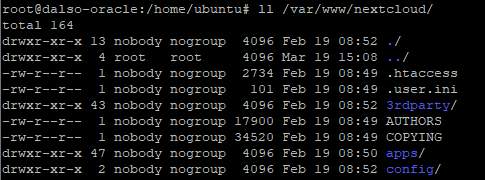
그리고 권한 설정을 해줘야합니다.
chown -R www-data:www-data /var/www/nextcloud
이제 접근하기 위한 nginx의 가상호스트를 설정해주겠습니다.
vi /etc/nginx/sites-available/default 혹은 도메인 파일을 수정해주세요.
아래 도메인 이름만 직접사용하시는 도메인을 넣어주시면 됩니다.
ex) dalso.duckdns.org
server {
listen 80;
listen [::]:80;
server_name [도메인이름];
# Enforce HTTPS
return 301 https://$server_name$request_uri;
}
server {
listen 443 ssl http2;
listen [::]:443 ssl http2;
server_name [도메인이름];
ssl_certificate /etc/letsencrypt/live/[도메인이름]/fullchain.pem;
ssl_certificate_key /etc/letsencrypt/live/[도메인이름]/privkey.pem;
ssl_dhparam /etc/ssl/certs/dhparam.pem;
ssl_session_cache shared:SSL:1m;
ssl_session_timeout 1440m;
ssl_buffer_size 8k;
ssl_protocols TLSv1 TLSv1.1 TLSv1.2;
ssl_ciphers 'kEECDH+ECDSA+AES128 kEECDH+ECDSA+AES256 kEECDH+AES128 kEECDH+AES256 kEDH+AES128 kEDH+AES256 DES-CBC3-SHA +SHA !aNULL !eNULL !LOW !kECDH !DSS !MD5 !EXP !PSK !SRP !CAMELLIA !SEED';
ssl_prefer_server_ciphers on;
ssl_stapling on;
ssl_stapling_verify on;
access_log /var/log/nginx/web.access.log;
error_log /var/log/nginx/web.error.log;
# set max upload size
client_max_body_size 512M;
fastcgi_buffers 64 4K;
# Enable gzip but do not remove ETag headers
gzip on;
gzip_vary on;
gzip_comp_level 4;
gzip_min_length 256;
gzip_proxied expired no-cache no-store private no_last_modified no_etag auth;
gzip_types application/atom+xml application/javascript application/json application/ld+json application/manifest+json application/rss+xml application/vnd.geo+json application/vnd.ms-fontobject application/x-font-ttf application/x-web-app-manifest+json application/xhtml+xml application/xml font/opentype image/bmp image/svg+xml image/x-icon text/cache-manifest text/css text/plain text/vcard text/vnd.rim.location.xloc text/vtt text/x-component text/x-cross-domain-policy;
# Pagespeed is not supported by Nextcloud, so if your server is built
# with the `ngx_pagespeed` module, uncomment this line to disable it.
#pagespeed off;
# HTTP response headers borrowed from Nextcloud `.htaccess`
add_header Referrer-Policy "no-referrer" always;
add_header X-Content-Type-Options "nosniff" always;
add_header X-Download-Options "noopen" always;
add_header X-Frame-Options "SAMEORIGIN" always;
add_header X-Permitted-Cross-Domain-Policies "none" always;
add_header X-Robots-Tag "none" always;
add_header X-XSS-Protection "1; mode=block" always;
# Remove X-Powered-By, which is an information leak
fastcgi_hide_header X-Powered-By;
# Path to the root of your installation
root /var/www/nextcloud;
# Specify how to handle directories -- specifying `/index.php$request_uri`
# here as the fallback means that Nginx always exhibits the desired behaviour
# when a client requests a path that corresponds to a directory that exists
# on the server. In particular, if that directory contains an index.php file,
# that file is correctly served; if it doesn't, then the request is passed to
# the front-end controller. This consistent behaviour means that we don't need
# to specify custom rules for certain paths (e.g. images and other assets,
# `/updater`, `/ocm-provider`, `/ocs-provider`), and thus
# `try_files $uri $uri/ /index.php$request_uri`
# always provides the desired behaviour.
index index.php index.html /index.php$request_uri;
# Rule borrowed from `.htaccess` to handle Microsoft DAV clients
location = / {
if ( $http_user_agent ~ ^DavClnt ) {
return 302 /remote.php/webdav/$is_args$args;
}
}
location = /robots.txt {
allow all;
log_not_found off;
access_log off;
}
# Make a regex exception for `/.well-known` so that clients can still
# access it despite the existence of the regex rule
# `location ~ /(\.|autotest|...)` which would otherwise handle requests
# for `/.well-known`.
location ^~ /.well-known {
# The following 6 rules are borrowed from `.htaccess`
location = /.well-known/carddav { return 301 /remote.php/dav/; }
location = /.well-known/caldav { return 301 /remote.php/dav/; }
# Anything else is dynamically handled by Nextcloud
location ^~ /.well-known { return 301 /index.php$uri; }
try_files $uri $uri/ =404;
}
# Rules borrowed from `.htaccess` to hide certain paths from clients
location ~ ^/(?:build|tests|config|lib|3rdparty|templates|data)(?:$|/) { return 404; }
location ~ ^/(?:\.|autotest|occ|issue|indie|db_|console) { return 404; }
# Ensure this block, which passes PHP files to the PHP process, is above the blocks
# which handle static assets (as seen below). If this block is not declared first,
# then Nginx will encounter an infinite rewriting loop when it prepends `/index.php`
# to the URI, resulting in a HTTP 500 error response.
location ~ \.php(?:$|/) {
fastcgi_split_path_info ^(.+?\.php)(/.*)$;
set $path_info $fastcgi_path_info;
try_files $fastcgi_script_name =404;
include fastcgi_params;
fastcgi_param SCRIPT_FILENAME $document_root$fastcgi_script_name;
fastcgi_param PATH_INFO $path_info;
fastcgi_param HTTPS on;
fastcgi_param modHeadersAvailable true; # Avoid sending the security headers twice
fastcgi_param front_controller_active true; # Enable pretty urls
fastcgi_pass unix:/run/php/php8.0-fpm.sock;
fastcgi_intercept_errors on;
fastcgi_request_buffering off;
}
location ~ \.(?:css|js|svg|gif)$ {
try_files $uri /index.php$request_uri;
expires 6M; # Cache-Control policy borrowed from `.htaccess`
access_log off; # Optional: Don't log access to assets
}
location ~ \.woff2?$ {
try_files $uri /index.php$request_uri;
expires 7d; # Cache-Control policy borrowed from `.htaccess`
access_log off; # Optional: Don't log access to assets
}
location / {
try_files $uri $uri/ /index.php$request_uri;
}
}
적용후 service nginx restart 명령어로 재시작 시켜준뒤 접근하면 아래처럼 nextcloud 설치화면이 뜹니다.
필요한거 써있으니,, 적어서 다 설치해보겠습니다.
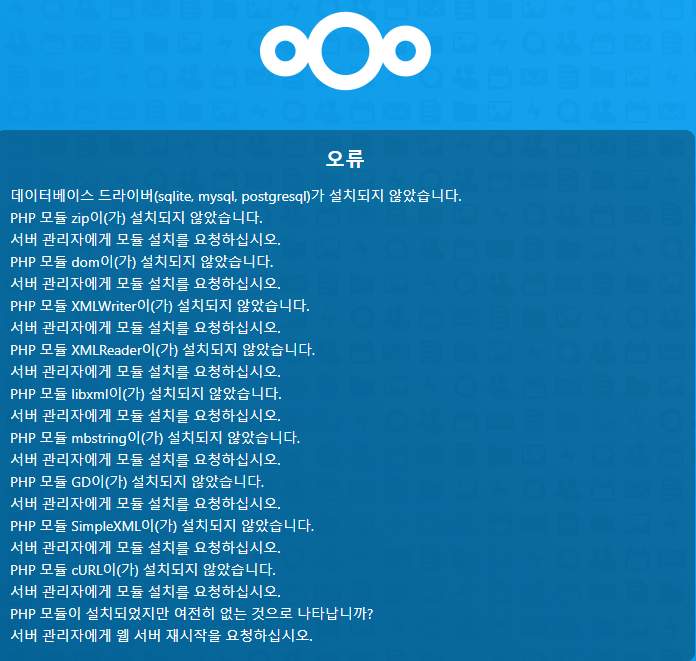
apt install php8.0-zip php8.0-dom php8.0-xml php8.0-mbstring php8.0-gd php8.0-curl php8.0-mysql

설치후에 service php8.0-fpm restart와 service nginx restart를 해주세요.
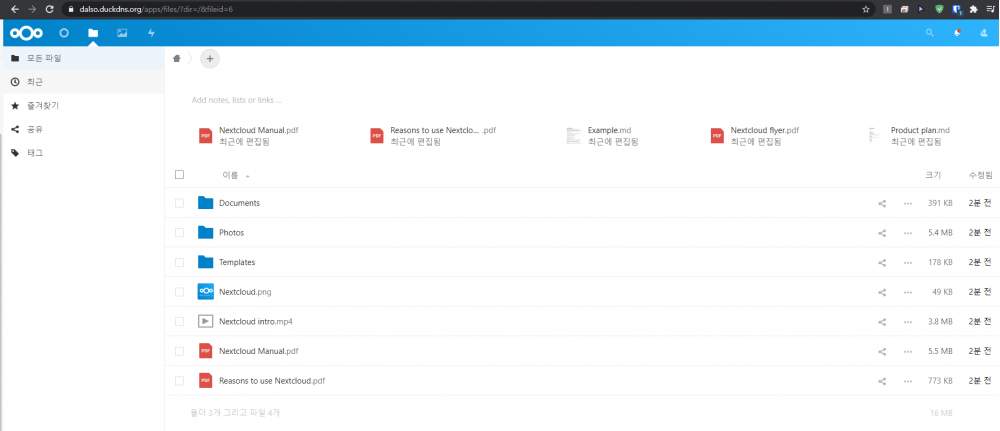
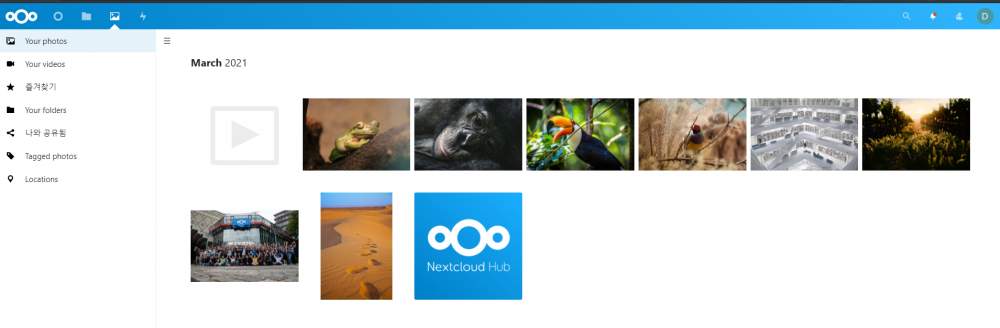
21이되고는 UI가 많이 바뀌었네요.