
Authelia/NPM 을 이용한 2차인증 서버 구축하기
안녕하세요. 달소입니다.
앞서 소개해드렸던 Authelia를 NPM과 함께 사용/적용하는 방법입니다.
https://svrforum.com/svr/291184

 Intuit 119213 &...
 달소 | 2022.05.13
적용하면서 느낀건.. 쉽다면 쉽고 어렵다면 어려운 과정이라는점... 주의깊게 보시고 따라해주시길바랍니다.
사전환경
Host OS : Proxmox 7.2
Guest OS : Ubuntu 22
Docker, Docker-compose
아래 영상의 가이드를 참고해서 진행했습니다.
몇몇가지는 제 입맛에따라 변경했기때문에 참고만하시면됩니다.

그리고 사전에 사용할 도메인과 테스트도메인을 미리 생성해주세요.
저같은경우 auth.dalso.org 과같이 auth.를 서브도메인으로해서 cloudflare에서 도메인할당을 미리해줬습니다.
NPM에도 동일한 도메인으로 Proxy host를 만들어주시면됩니다.
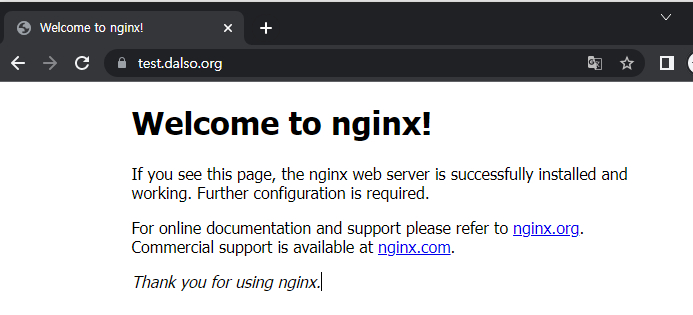
그리고 test.dalso.org 로 테스트 도메인을 만들었습니다.
NPM으로 인증서까지 미리해주시면 됩니다.
Authelia 컨테이너 생성하기
컨테이너 생성전에 Authelia의 데이터를 저장시켜줄곳을 먼저 만들겠습니다.
mkdir -p /data/authelia
cd /data/authelia
그리고 기본 docker-compose.yml을 만들어서 컨테이너를 생성했다가 꺼줄겁니다.
vi docker-compose.yml
version: '3.3'
services:
authelia:
image: authelia/authelia
container_name: authelia
volumes:
- ./Configs/Authelia:/config #change this to a shared folder on your system. DO NOT use a "volume"
ports:
- 9091:9091
environment:
- TZ=Asia/Seoul
그리고 컨테이너를 생성했다가 종료해주세요.
docker-compose up -d
docker-compose down
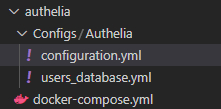
그럼 Configs/Authelia에 configuration.yml 파일이 생겨있는걸 확인하실 수 있는데
vi 편집기로 열어주세요.
vi Configs/Authelia/configuration.yml
여기서 바꿔야할부분은 jwt_secret, https://auth.dalso.org/ 로나온부분을 모두 개인 현황에 맞게 수정해주시면됩니다. + access_control: 쪽의 적용 도메인쪽도 확인해서 수정해주세요.
# yamllint disable rule:comments-indentation
---
###############################################################################
# Authelia Configuration #
###############################################################################
theme: dark #light/dark
jwt_secret: 1234567890abcdefghifjkl #any text or number you want to add here to create jwt Token
default_redirection_url: https://auth.dalso.org/ #where to redirect for a non-existent URL
server:
host: 0.0.0.0
port: 9091
path: ""
read_buffer_size: 4096
write_buffer_size: 4096
enable_pprof: false
enable_expvars: false
disable_healthcheck: false
tls:
key: ""
certificate: ""
log:
level: debug
totp:
issuer: auth.dalso.org #your authelia top-level domain
period: 30
skew: 1
authentication_backend:
disable_reset_password: false
refresh_interval: 5m
file:
path: /config/users_database.yml #this is where your authorized users are stored
password:
algorithm: argon2id
iterations: 1
key_length: 32
salt_length: 16
memory: 1024
parallelism: 8
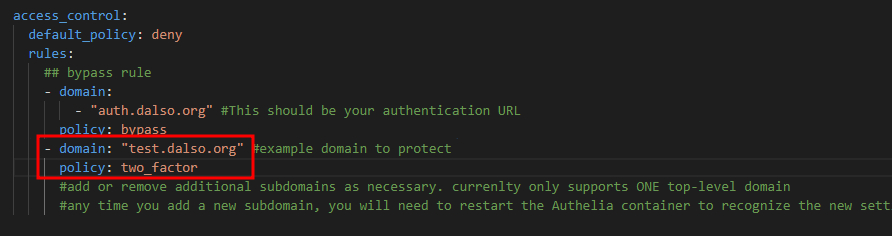
access_control:
default_policy: deny
rules:
## bypass rule
- domain:
- "auth.dalso.org" #This should be your authentication URL
policy: bypass
- domain: "test.dalso.org" #example domain to protect
policy: one_factor
#add or remove additional subdomains as necessary. currenlty only supports ONE top-level domain
#any time you add a new subdomain, you will need to restart the Authelia container to recognize the new settings/rules
session:
name: authelia_session
secret: unsecure_session_secret #any text or number you want to add here to create jwt Token
expiration: 3600 # 1 hour
inactivity: 300 # 5 minutes
domain: dalso.org # Should match whatever your root protected domain is
regulation:
max_retries: 3
find_time: 10m
ban_time: 12h
storage:
local:
path: /config/db.sqlite3 #this is your databse. You could use a mysql database if you wanted, but we're going to use this one.
encryption_key: 1234567890abcdefgdfasdfasdf #added Dec 5 2021
notifier:
disable_startup_check: true #true/false
smtp:
username: youremail@gmail.com #your email address
password: Y0uRp@55W0rD! #your email password
host: smtp.gmail.com #email smtp server
port: 587 #email smtp port
sender: youremail@gmail.com
identifier: localhost
subject: "[Authelia] {title}" #email subject
startup_check_address: youremail@gmail.com
disable_require_tls: false
disable_html_emails: false
tls:
skip_verify: false
minimum_version: TLS1.2
...
이제 다시 docker-compose up 을 통해서 컨테이너를 생성하면 configuration 및에 user_datase.yml이 추가로 생긴것을 확인하실 수 있습니다.
users: 아래 항목들을 수정하시면됩니다.
사각형 친 항목을
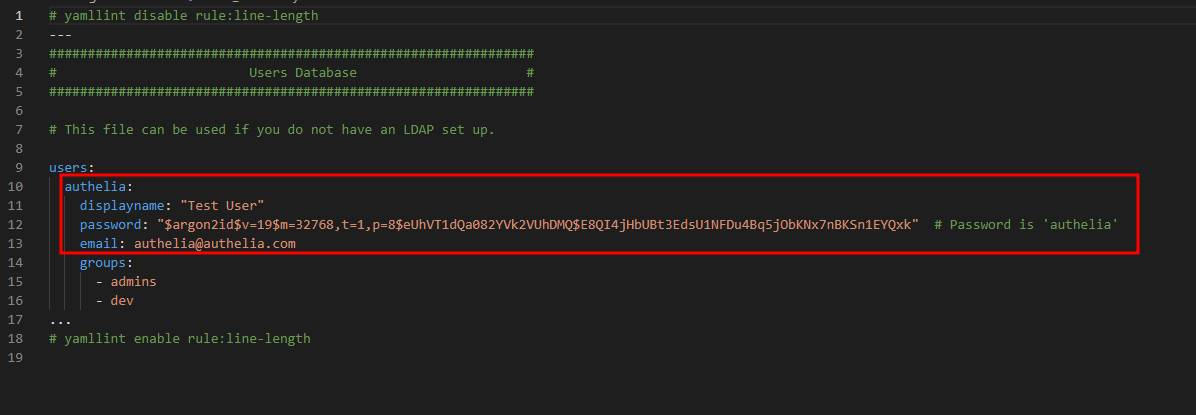
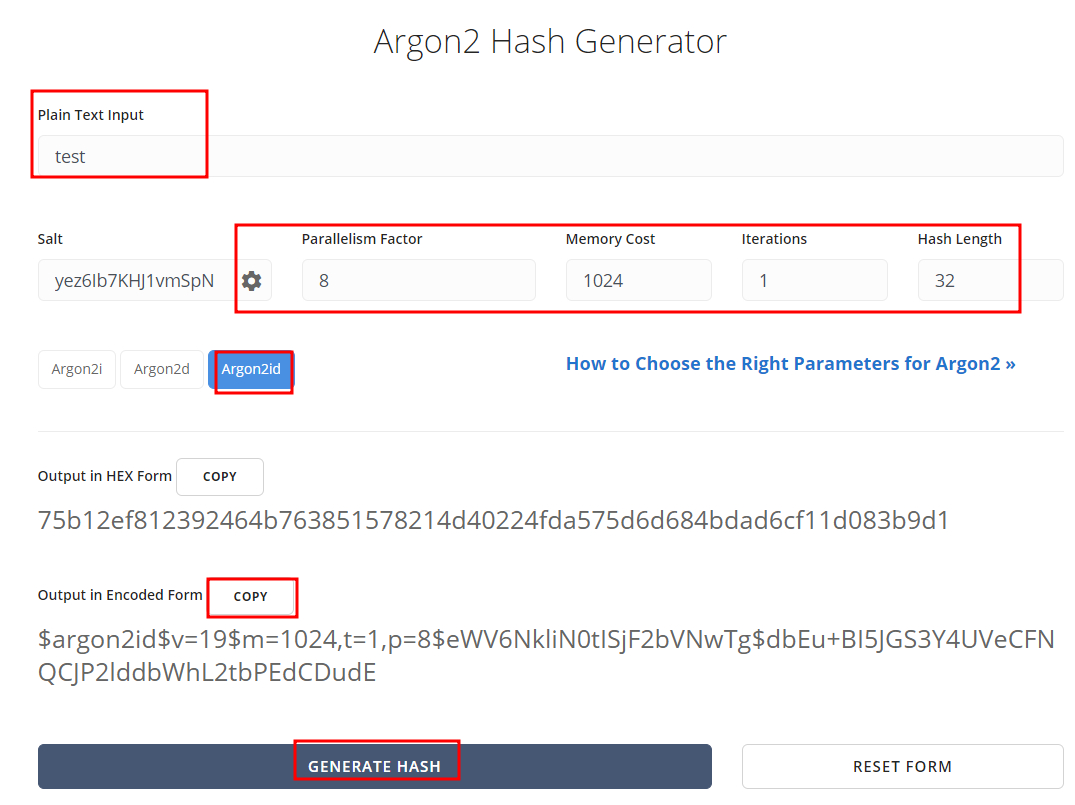
아래처럼 변경해주세요. password는 https://argon2.online/ 에가서
Plain Text input에는 사용할 PW를 입력 나머지 항목들을 아래와같이 셋팅하신뒤에 Generate Hash 로 만들어진 Encode Form을 Copy해서 password에 넣어주시면됩니다.

이렇게 변경을 완료했으면 다시 docker-compose down / docker-compose up -d 명령어로 다시 컨테이너를 실행시켜줍니다.
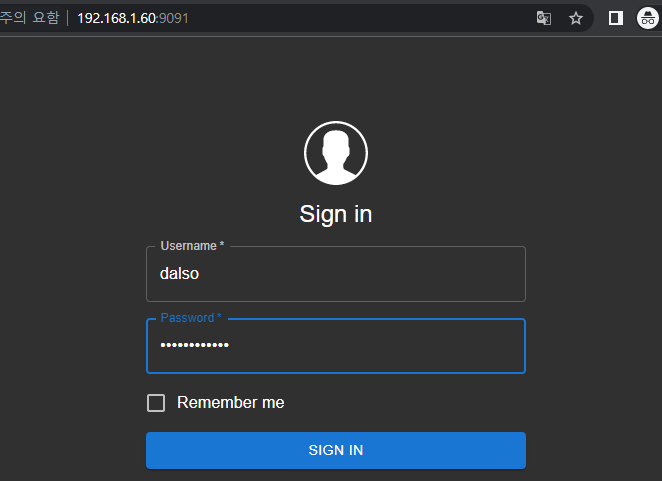
그다음 ip:9091 포트로 접속하실때 아래와같은 화면이 뜨고 로그인이 되시면 성공입니다.
NPM 설정하기
이제 NPM으로 접속해서 auth.도메인을 만들어주시고 Advanced에 아래와같은 내용을 넣어줍니다.
제가 192.168.1.60:9091로 적은 부분만 사용하시는 ip로 바꿔주시고 넣어주시면됩니다.
location / {
set $upstream_authelia http://192.168.1.60:9091; # This example assumes a Docker deployment
proxy_pass $upstream_authelia;
client_body_buffer_size 128k;
#Timeout if the real server is dead
proxy_next_upstream error timeout invalid_header http_500 http_502 http_503;
# Advanced Proxy Config
send_timeout 5m;
proxy_read_timeout 360;
proxy_send_timeout 360;
proxy_connect_timeout 360;
# Basic Proxy Config
proxy_set_header Host $host;
proxy_set_header X-Real-IP $remote_addr;
proxy_set_header X-Forwarded-For $proxy_add_x_forwarded_for;
proxy_set_header X-Forwarded-Proto $scheme;
proxy_set_header X-Forwarded-Host $http_host;
proxy_set_header X-Forwarded-Uri $request_uri;
proxy_set_header X-Forwarded-Ssl on;
proxy_redirect http:// $scheme://;
proxy_http_version 1.1;
proxy_set_header Connection "";
proxy_cache_bypass $cookie_session;
proxy_no_cache $cookie_session;
proxy_buffers 64 256k;
# If behind a reverse proxy, forwards the correct IP, assumes you're using Cloudflare. Adjust IP for your Docker network.
set_real_ip_from 192.168.0.0/16;
real_ip_header CF-Connecting-IP;
real_ip_recursive on;
}
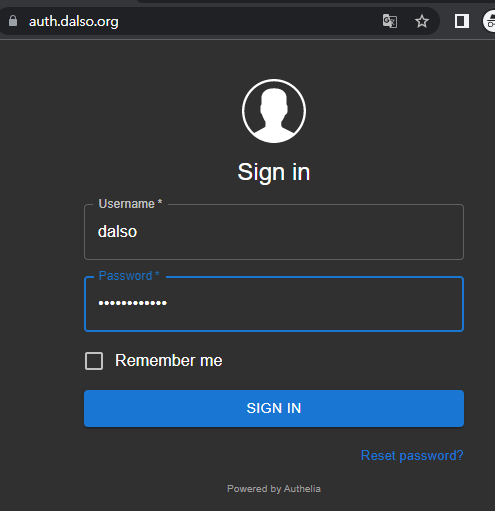
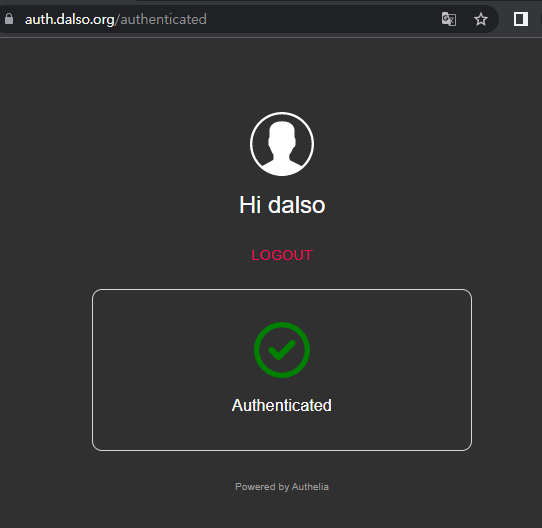
그리고 도메인을 접속했을때 로그인이 되면 됩니다.
혹시 로그인이 안되시면 db.sqlite3를 삭제하신뒤에 다시 컨테이너를 삭제 후 재시작 시켜주면됩니다.
보호 도메인 설정
보호도메인은 configuration 에 넣은 도메인정보입니다.
저같은경우 test.dalso.org가 되겠네요.
NPM에서 test.dalso.org 의 Advanced로 가서 아래 내용을 넣어주세요.
수정할 부분은 192.168.1.60 ip가 나온 부분과 auth.dalso.org가 나온부분
여러 도메인을 사용하신다면 $upstream_app 을 $upstream_app2,3,4 로 해주시면됩니다.
location /authelia {
internal;
set $upstream_authelia http://192.168.1.60:9091/api/verify;
proxy_pass_request_body off;
proxy_pass $upstream_authelia;
proxy_set_header Content-Length "";
# Timeout if the real server is dead
proxy_next_upstream error timeout invalid_header http_500 http_502 http_503;
client_body_buffer_size 128k;
proxy_set_header Host $host;
proxy_set_header X-Original-URL $scheme://$http_host$request_uri;
proxy_set_header X-Real-IP $remote_addr;
proxy_set_header X-Forwarded-For $remote_addr;
proxy_set_header X-Forwarded-Proto $scheme;
proxy_set_header X-Forwarded-Host $http_host;
proxy_set_header X-Forwarded-Uri $request_uri;
proxy_set_header X-Forwarded-Ssl on;
proxy_redirect http:// $scheme://;
proxy_http_version 1.1;
proxy_set_header Connection "";
proxy_cache_bypass $cookie_session;
proxy_no_cache $cookie_session;
proxy_buffers 4 32k;
send_timeout 5m;
proxy_read_timeout 240;
proxy_send_timeout 240;
proxy_connect_timeout 240;
}
location / {
set $upstream_app $forward_scheme://$server:$port;
proxy_pass $upstream_app;
auth_request /authelia;
auth_request_set $target_url https://$http_host$request_uri;
auth_request_set $user $upstream_http_remote_user;
auth_request_set $email $upstream_http_remote_email;
auth_request_set $groups $upstream_http_remote_groups;
proxy_set_header Remote-User $user;
proxy_set_header Remote-Email $email;
proxy_set_header Remote-Groups $groups;
error_page 401 =302 https://auth.dalso.org/?rd=$target_url;
client_body_buffer_size 128k;
proxy_next_upstream error timeout invalid_header http_500 http_502 http_503;
send_timeout 5m;
proxy_read_timeout 360;
proxy_send_timeout 360;
proxy_connect_timeout 360;
proxy_set_header Host $host;
proxy_set_header Upgrade $http_upgrade;
proxy_set_header Connection upgrade;
proxy_set_header Accept-Encoding gzip;
proxy_set_header X-Real-IP $remote_addr;
proxy_set_header X-Forwarded-For $proxy_add_x_forwarded_for;
proxy_set_header X-Forwarded-Proto $scheme;
proxy_set_header X-Forwarded-Host $http_host;
proxy_set_header X-Forwarded-Uri $request_uri;
proxy_set_header X-Forwarded-Ssl on;
proxy_redirect http:// $scheme://;
proxy_http_version 1.1;
proxy_set_header Connection "";
proxy_cache_bypass $cookie_session;
proxy_no_cache $cookie_session;
proxy_buffers 64 256k;
set_real_ip_from 192.168.0.0/16;
set_real_ip_from 172.19.0.0/16;
real_ip_header CF-Connecting-IP;
real_ip_recursive on;
}
이제 설정이 다 완료되었습니다.
테스트하기
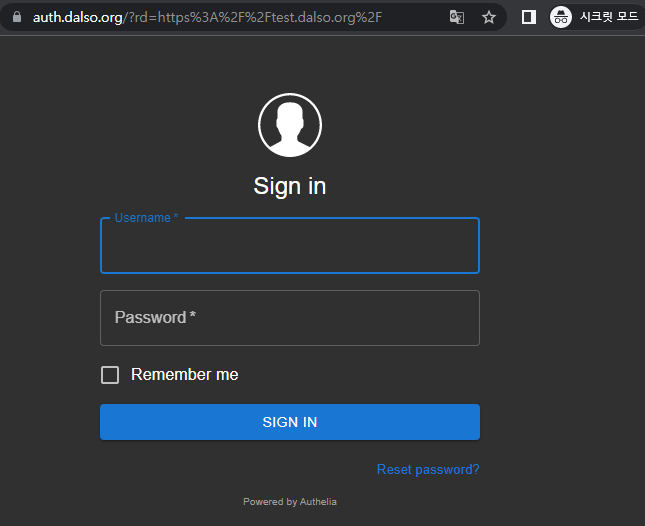
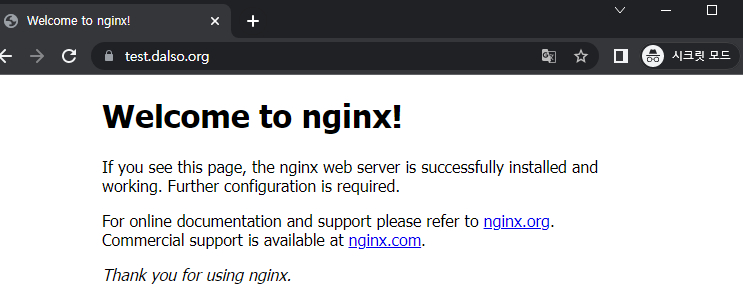
https://test.dalso.org 로 접속을 해보면 아래처럼 auth.dalso.org 로 바로 리다이렉트가 되는걸 확인하실 수 있으며
로그인을 해보면
인증을하면 이렇게 정상 서버로 리다이렉트 됩니다..!
굿!!!!!!!!!!!!!!!!!!!!!!!!!!!!!!!!!!!!!!다이노
이건 One_factor라 그렇고 two_factor를 구글인증으로하면 아마 auth 로그인시에 구글인증까지 하라고 나오게 될겁니다!

내용이 길어져서 이부분은 다음에...
이글을 쓰기까지 트러블 슈팅으로 매우험난했기때문에.. 작업하시면서 안되는부분이 있으시면 일단 참고 유튜브를 하하하...
 달소
달소
수고하셨습니다. 참고하여 구축해보겠습니다
 2등
2등 고생하셨습니다. 방금 설정 완료했습니다.
잘 안되서 봤더니 NPM에서 설정할 때 docker-compose로 서비스를 열었다면
set $upstream_authelia http://192.168.1.60:9091; 을
set $upstream_authelia http://[authelia의 서비스명]:9091; 로 바꿔야하더라구요.
어렵네요... 포테이너로 config 볼륨 설정하고 하면 파일은 만들어지는데 올라가자마자 중지되어버리네요... ㅠㅠ
파일 수정하고 다시 시작해도 그대로 뻗고 추가 파일은 만들어지지 않네요...ㅠㅠ 헤놀로 하는 방법은 없는걸까요?
잘해결되었습니다~ 덕분에 이중인증까지 완료하게 되었습니다~ 감사합니다!
역시 잘 안될땐 유튜브죠 ㅋㅋㅋㅋㅋㅋㅋㅋㅋㅋㅋㅋㅋㅋㅋ.. 유튜브보고 오류 찾았습니다..

감사합니다.
cmt alert


